 |
| Lake Meary, near Orlando, with my new Trekz Air headphones. Re-discovering consistency |
Checkin' IN!!!
So, I have two major things to cover here. First, a little rant. In my professional life, I am often leaned into in a way that I am requested to be quite nimble and be able to pivot and to be frank - complete or resolve issues from others that were fumbled or overlooked. Further it is is often after I rendered an opinion that was previously discarded or blatantly ignored. I have established some rather firm boundaries so I am not walked over, but it's just a bit fatiguing when I recognize another not willing to enforce boundaries in a similar situation and watch them just give in and be walked over. It's sad to witness or observe and I am grateful that I am often confident and strong enough to not let that happen to me. /rant completed - catharsis end
So over break, Liz and I took on a new DIY project which impacted a lot of my triathlon activities but it put me in a few headspace places. We decided to tackle our kitchen and 'refresh' things.
And you know what, I am ok with that. In 2013/2014 when I rejuvenated my hobbies of being active we only had Dennis. Our situation is continuously evolving and the capability and equation of expectations are persistently changing. As such, I must also move and adapt my expectations and how I approach and react to things in/out of my direct control.
So, the kitchen refresh(es) just kind of started. We decided to do the following:
- refresh the countertops we just had come to accept
- Paint from room Wall flannel grey
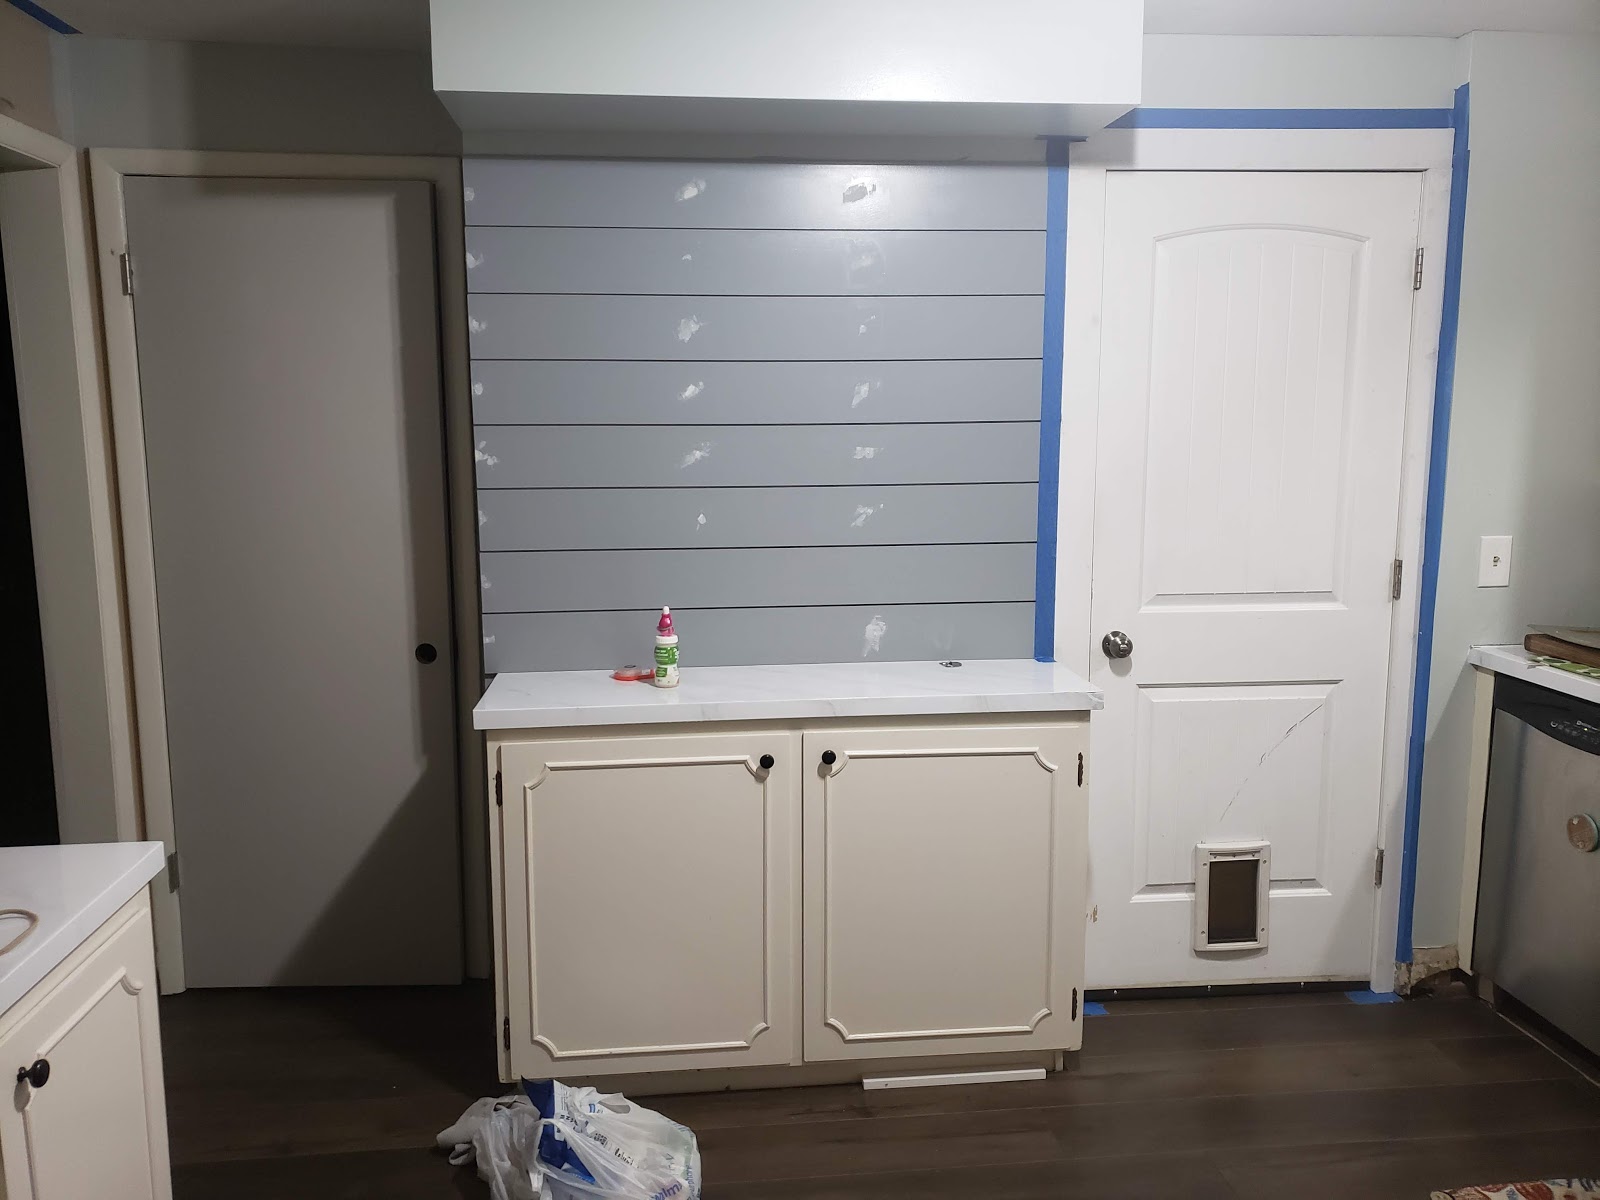
- Shiplap a principle/quasi focus wall
- re-tile the backsplash
- wood putty trim and paint the door trims white
We wanted to get to the cabinets too, but we skipped that for now. So we set out and grabbed the materials. We started into the countertops.
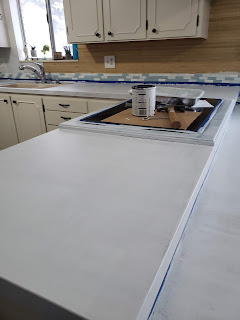
Countertop refresh
For the countertops, we were gifted not one but (2)
Giani marble countertop kits (CLICK HERE) Liz pointed me to this and we thought this option may be doable for a now fix. So we were surprised and quite grateful that they showed up as a gift from Liz's parents. So we talked to a friend of Liz's, though we were ready and got to work. In the first step we essentially did it 3 times to create the base layer and remove all of the old breadboard looks.
 |
| The inital breadboard formica layer, |
 |
| Look at that lovely countertop and the first idea for a backsplash that we abandoned |
 |
| This space was in the countertop refresh and later the wall we ship-lapped. |
So, first, we had to clean everything in order to have the previous countertop ready for the epoxy primer. Essentially it created a rough but actually usable surface for a countertop. If you wanted a plain top, the epoxy and the marbling steps could be skipped for a rough industrial-ish type top or add epoxy for a plain colored top. So we set out and it took 3 coats. Between each coat, you have to let it sit for 4 hours. On our tops, the 3 coats were sufficient enough to cover the whole countertop space correctly and evenly.
Once that was completed it was ready for the marbling exercises.
 |
| The plain outcome wasn't too bad actually |
 |
| This is between 2 and 3 coats |
 |
| It applies like a thicker paint, was easy to work with and this outcome was fairly easy to achieve |
The next step was the one I think was the most nervous and excited about. So she enlisted her friend Rob. Rob is a local professor at USU and art and interior design are the disciplines he professes. Although this is very convenient, Liz and I do our best to trade conveniences in our talents with each other. So, Rob and Liz took about an hour and worked through the pattern of the marble lines. Overall, he nailed it and knocked it out of the park. We couldn't be happier and are ever so grateful. I wasn't around for most of this as I let Rob and Liz work through the yo-mans share of this, but it gave them time to work through the small project. Overall the process is easy, add a small paintbrush line in an erratic design, spritz water at it and feather brush it to desired vein style. Thanks again Rob, it looks awesome!
 |
| veining pre-epoxy |
 |
| CVeining on the step up and the stovetop |
 |
| the veining on the opposite counter |
 |
| The veining on the short counter |
 |
| Veining completed |
At this point, we were ready for the step we were most nervous about. So, we started, but then I took the kiddos and let Liz do her best and just get to work. It was suggested to us to have a handheld propane torch on hand. we skipped, - I'll talk about this later. Overall this was ready to go.
 |
| Epoxy prep, the plastic tape under cabinet everywhere, and we moved this as Liz progressed and where I helped, can be a bit messy in a few places |
After trying to keep the kidlets away and busy with some needed dad time, Liz was able to work through the epoxy step. Overall, we are happy with the results.
 |
| Epoxy laid and mostly dry |
 |
| epoxy curing |
 |
| Epoxy curing, we decided to include the stovetop wood into the design |
 |
| Epoxy curing sink sticks out, a project for the future |
 |
| epoxy curing, don't like the wall now :) |
 |
| epoxy curing |
Once you get the epoxy into curing, is where you start to see, understand and realize this is a gap solution. Our counters aren't perfectly level and it took us a week or so to find a few places that weren't covered or even. But 95% and better of all the surfaces look really good in pix and to the eye from a distance. Now we are untrained and learn as you go DIY-er's in this space - kind of like my self-coached endurance athlete/participant approach. The pro-tip we skipped and ignored kind of revealed itself over time. If you come to see the counter, you can see the smoothness of the overlay, but you can also see and feel some small bumps here and there. the hand torch is to help heat out and pop air bubbles. We were so excited we didn't think there were any, and well, it still turned out awesome, but it's not PERFECT.
Well, similar to my endurance sports training adventures, the imperfect approach allows space to pause and review. To identify what went well, what could have been improved, and the opportunity to adjust and adapt along the way. Liz and I were nervous but once in the project we just let go, trusted and concentrated on the step/phase we were in. This is similar to triathlon and other training and this is what is needed. I shared the staircase analogy in a strategic meeting yesterday. The good reverend and Dr Martlin Luther King once shared
Take the first step in faith. You don't have to see the whole staircase, just take the first step.
Sometimes, during life, I find me and observe others often get lost. Using the analogy, the person is enamored by what is on the staircase landing and the destination. It can look daunting or too easy. This can be because we have previous experience, or the stairs aren't visible and sometimes are forgotten and not the focal point. So once we begin to climb the stairs, a lot can go sideways. Are we focused on the step we are on? Did we observe to see if it was clean and free of any dangerous or other obstruction requiring varying levels of our conscious attention? Depending on if the staircase is man-made or nature-made etc, did we respect the whole thing and the sum of its parts? Did we rush, or underestimate. Did we let fear or other distractions stop or disrupt us, and alter our focus and perhaps made us forget what the motivations was - the reward waiting on the landing above the stairs. So many things. So, by staying focused, concentrating on the stair we are on, progressing one step at a time, achieving the destination becomes easy. We often subconsciously skip steps and oft times the devil in the details is what enhances or disrupts our overall experience.
So overall the countertop refresh went well. The painful part had begun. Patience is required to wait. A period of time is recommended by GIANI to not use the counters except lightly. So Liz and I did our best to follow that recommendation and we did so. The kidlets stayed away for the most part and the curing was achieved. Sure, we did find a few blemishes, but like many folks said to the pictures, it turned out pretty darn well. It's obvious to us it is not professional, but that is ok. This should allow us to get to the next step, whenever that is or if we get to that step while living in this house.
So, we determined we didn't like the painful short countertop between the pantry and our breezeway to the garage and laundry space.
 |
| before |
Paint the front wall Flannel Gray
Just before starting the countertops, I had bought the shiplap and cut it to size and was ready to move forward, Liz had me stop and we did the countertops first. We decided to grab a flannel grey paint by Benjamin Moore and thought, let's paint the focus wall in the living room first.
It turned out and Liz absolutely loved it. I was also able to caulk the trim boards and address a gapping issue by adding a small trim foot to the bottom of one wall. The look cam together and now need to circle back and get the photos and portraits on the walls to help complete the overall space.
Ship-lapping short counter wall
Once this was completed, it was time to complete the shiplap as the epoxy has now cured long enough for Liz to feel it was safe for me to get it done. So here's the progression pix. This was super simple. Grabbed MDF shiplap, painted the lengths and then cut to size. We have an air compressor and nail gun that Liz got as we were doing trim work with the flooring so once I started measuring and cutting, moving ahead was a breeze.
|
| Need to clean off the wall, and finished some of the remaining trim work around the breezeway dooring |
 |
| Before pic with a shiplap piece for reference |
 |
| Giving it the final - is this what you want Liz, check. |
 |
| I used painters tape to give me a sightline to the studs. |
 |
| The sightline was great, and Liz wanted to paint between the boards, I skipped that step thinl=king the white contrast from the primed mdf would be ok, Liz so Nooooo! |
 |
| Liz enjoying her progress - pregnancy and her kitchen and walls refresh! |
 |
| It's coming along |
 |
| All done, and the wood putty applied |
 |
| touched up and drying |
So, along the way, I had to finish the door trim on the doors to the breezeway. Once I got that out of the way, we weren't sure how to handle a few things. After consulting the Rob and the Adam, we determined our best option was to paint the ends and skip the capping and keep going. Overall, again we are pleased with how it turned out and our efforts. Along the way, we also decided to paint the pantry door the shade we may go with the cabinets. We still are thinking that through.
We have plenty of lessons learned along the way and also were able to accomplish many of these things and just keep at it when the girls and kidlets let us during the winter break. It has disrupted my endurance sports training and I am more and more convinced that I will defer from St George and need to determine which one I will switch to and determine those logistics soon.
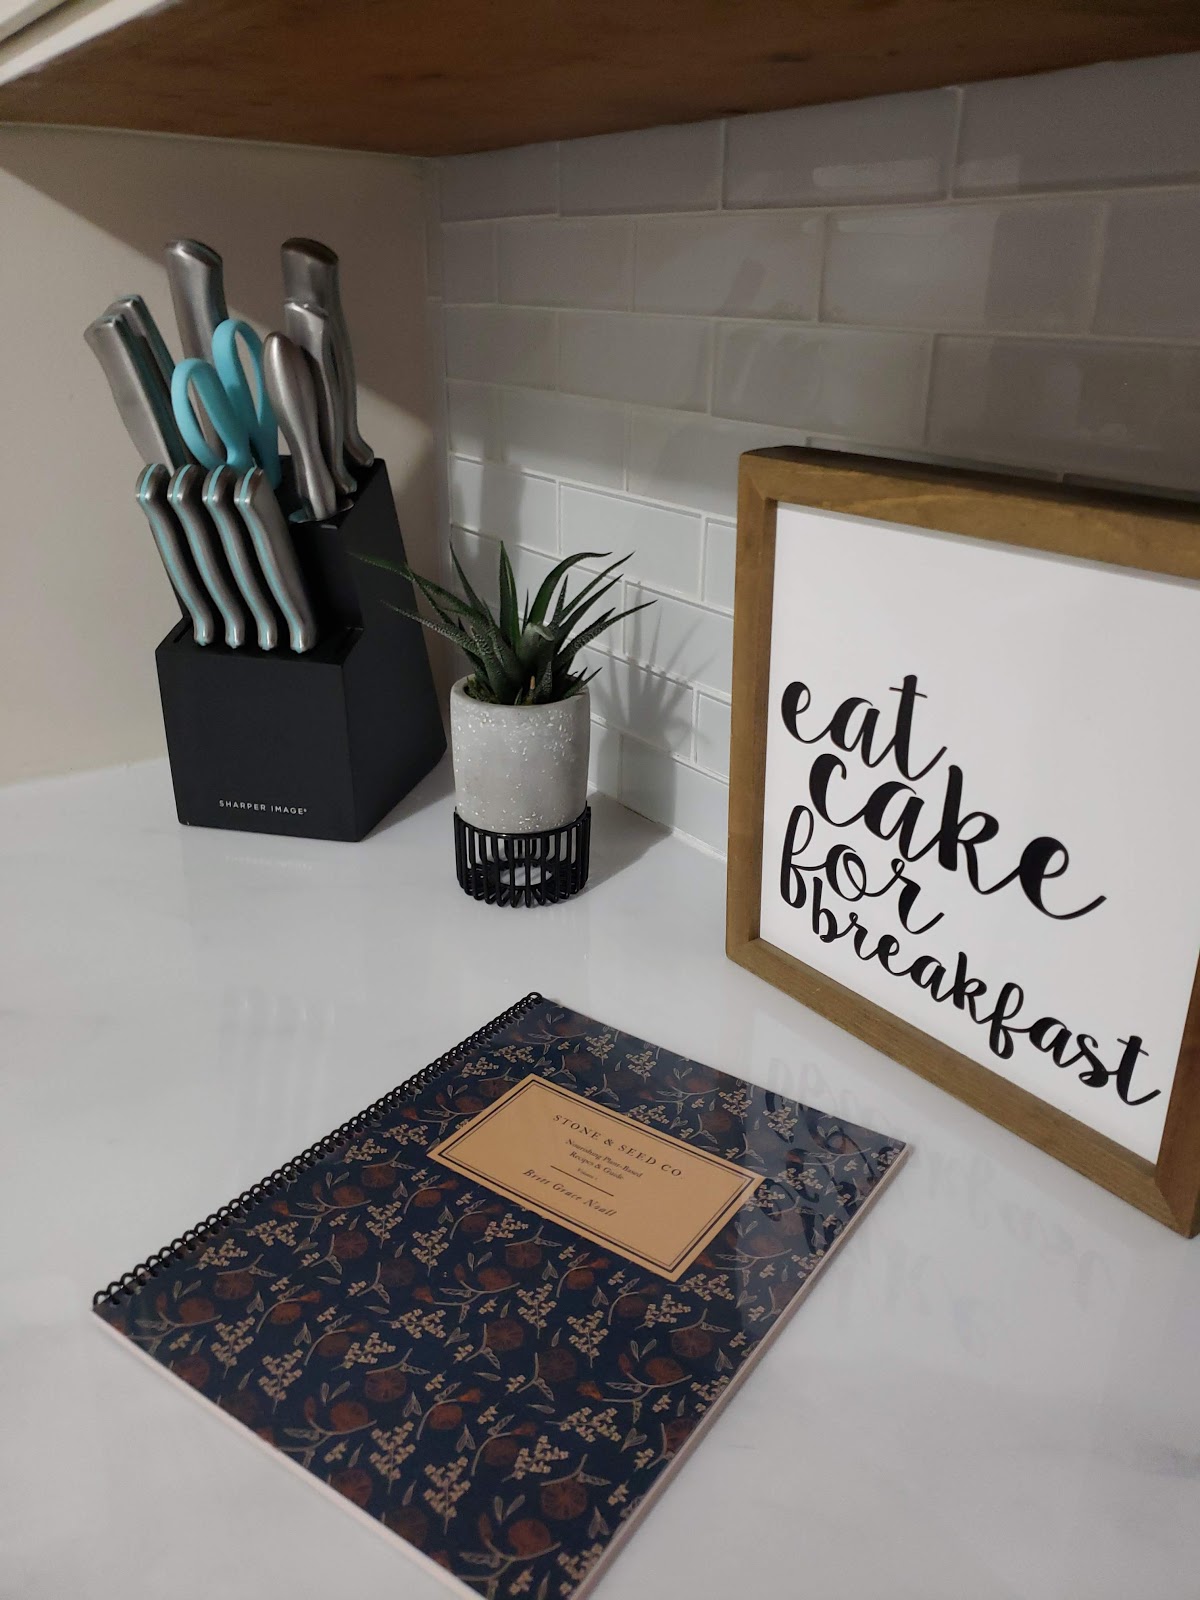
Kitchen backsplash refresh
Well, I wasn't planning on doing the tile=ing at this time, but Liz persuaded me and suckered me into it. We went down to Ogden to Floor and decor and got her the needed tile and a new marbled window sill. The sink section took some time due to the sink and the electrical receptacles. Once I got around those and thanks to Fred and Rob for letting us borrow their tile saws, things moved quickly. I was able to get it all completed with small issues along the way. I had to make a second trip to Floor and Decor for the pencil tiles we used to border each wall and end start. Overall, for hating tile and it only being my second application, it turned out well. Flying glass shard and glass tile saws are exciting. My suggestion, clean the tools and don't take short cuts. Also, eye protection should be considered, I skipped, because we were running out of vacation time. So I got to a point where it was completed because we decided to do the yo-mans share of it on New Year's eve. This was to the chagrin of some others, but we decided to do what was needed for our family first. IT went quickly, and I was able to knock the opposite side across from the sink quite quickly. The tiling is not level precise but it is very consistent, and I think it looks like a handyman or better completed the work.
I had a few lessons learned along the way on the tiling that I can relate to endurance sports. In the grind of training, we tend to lose sight of what is important. We have to do two things. As a self-coached athlete I have the chore of managing what is right in front of my face during a workout or given session, and then have to keep in mind the long term journey and adjust and adapt things along the way. I have to be very mindful of the distribution and the load of stress - both physical and mental that I am putting on myself. Also when folks ask me to help them in running, cycling or swimming, I pause before sharing information to make sure it is as adaptable to the situation in question at the time. Too often a one size fits all approach is wanted. I got caught into that while placing the tile, then I had to be adaptable and nimble and flexible around the sill and the electrical receptacles, including the start and finish of the tiling on the ends. Once I got the hang of things I was just able to cruise, but I had to then be very present for the adaptations. In swimming, especially in open water, you have to be very mindful at the start - whether waves, self-paced or mass start, you don't want to die in the underwater hockey fights. Most are unintentional but when an under-experienced athlete/participant is in the mix - things can go sideways unexpectedly. Luckily I have only been kicked real good once, and am able to not be run over but 3 -4 times per OWS. This last year, with my lowest on my personal expectations, I got in late and I was swimming around more than swam around me, it was also my fastest in the water time to date and with the least amount of exerted effort.
So with tiling, it was similar. Once I got through the trouble spots I cruised, finished off the ends, and then did the opposite side quite fast. Now to the fun part. Liz and I had determined we would wait until the following week after I travel to do the grout. Because we wanted the mortar to set well, then as I was moving things, the container of mortar fell and it cracked open. We were NOT going to waste the 22 dollars on the specific grout we chose. So, I jumped into things. I have no idea what to do. At least I had grabbed a grout pusher and then just got down to work. About 2 hours later and with about a nickel-sized amount of grout left, I finished both walls. I have since travelled for 2 weeks and been back, and the backsplash looks solid. Liz is happy and loves it. The ship-lapped wall is ready to be dressed up a bit, and the focus wall in the main room is looking good.
Along the way, I also did some caulking work on the trim and door frames that we had pushed off for the time being. This whole process is a model and mirror of our current evolutions in life. With kidlet 4 in-bound, I have been having to adjust and adapt to make sure family first. I am realizing I will be deferring more and more. I always had the hope that St George with the return of a full ironman would be my first monster (140.6 miles - 2.4-mile swim, 112-mile bike and 26.2-mile run) in 17 hours. Oh well. As the deadline to defer approaches, I am looking at options. Anyway.
Work this week was solid, I got to connect with a consultant that is part of my practice but we rarely get to be in person together. 2 times in 5 years. So we had solid conversations last night and went to In N Out as to California natives that miss a small piece of home. That being said, I am now on the road home and will be back with family soon. Hope to have swim time, and then maybe I can get Liz out to Hibachi for some us time before I get on the trainer and try to embrace the long road to 140.6.
Giddy up!
#zentriathlete #familybalancetri #zenfamily #fitbalancehealth #lifestylenotjusttraining #desire #Dedication #determination #discipline #grateful #gratitude #LifeLessons #c26 #sanctuary #justbreathe #perspective #itisntalwayspretty #consistency #fearthebeard #sharetheroad #wildtriathlete #wildrunner #walkthecliff #burntheisland #beatyesterday #garmin #hydratefaster #smithoptics #speedfil #teamzealios #teamzoot #teamzootmtn #zealios #zootsports


No comments:
Post a Comment